Search This Blog

Saturday, August 14, 2010

Awsome Brownies!


So another quest I have been on lately is the brownie quest. This is kind of hard for me since for some reason and unlike almost everybody else I don’t like super fudgy brownies. My type of brownie is more of a chewy texture with a bit of crumb. So after about two failed attempts I finally found my dream brownie. I found this recipe on the nestle website, but I made a few adjustments to the recipe and made it my own.

Here it is:
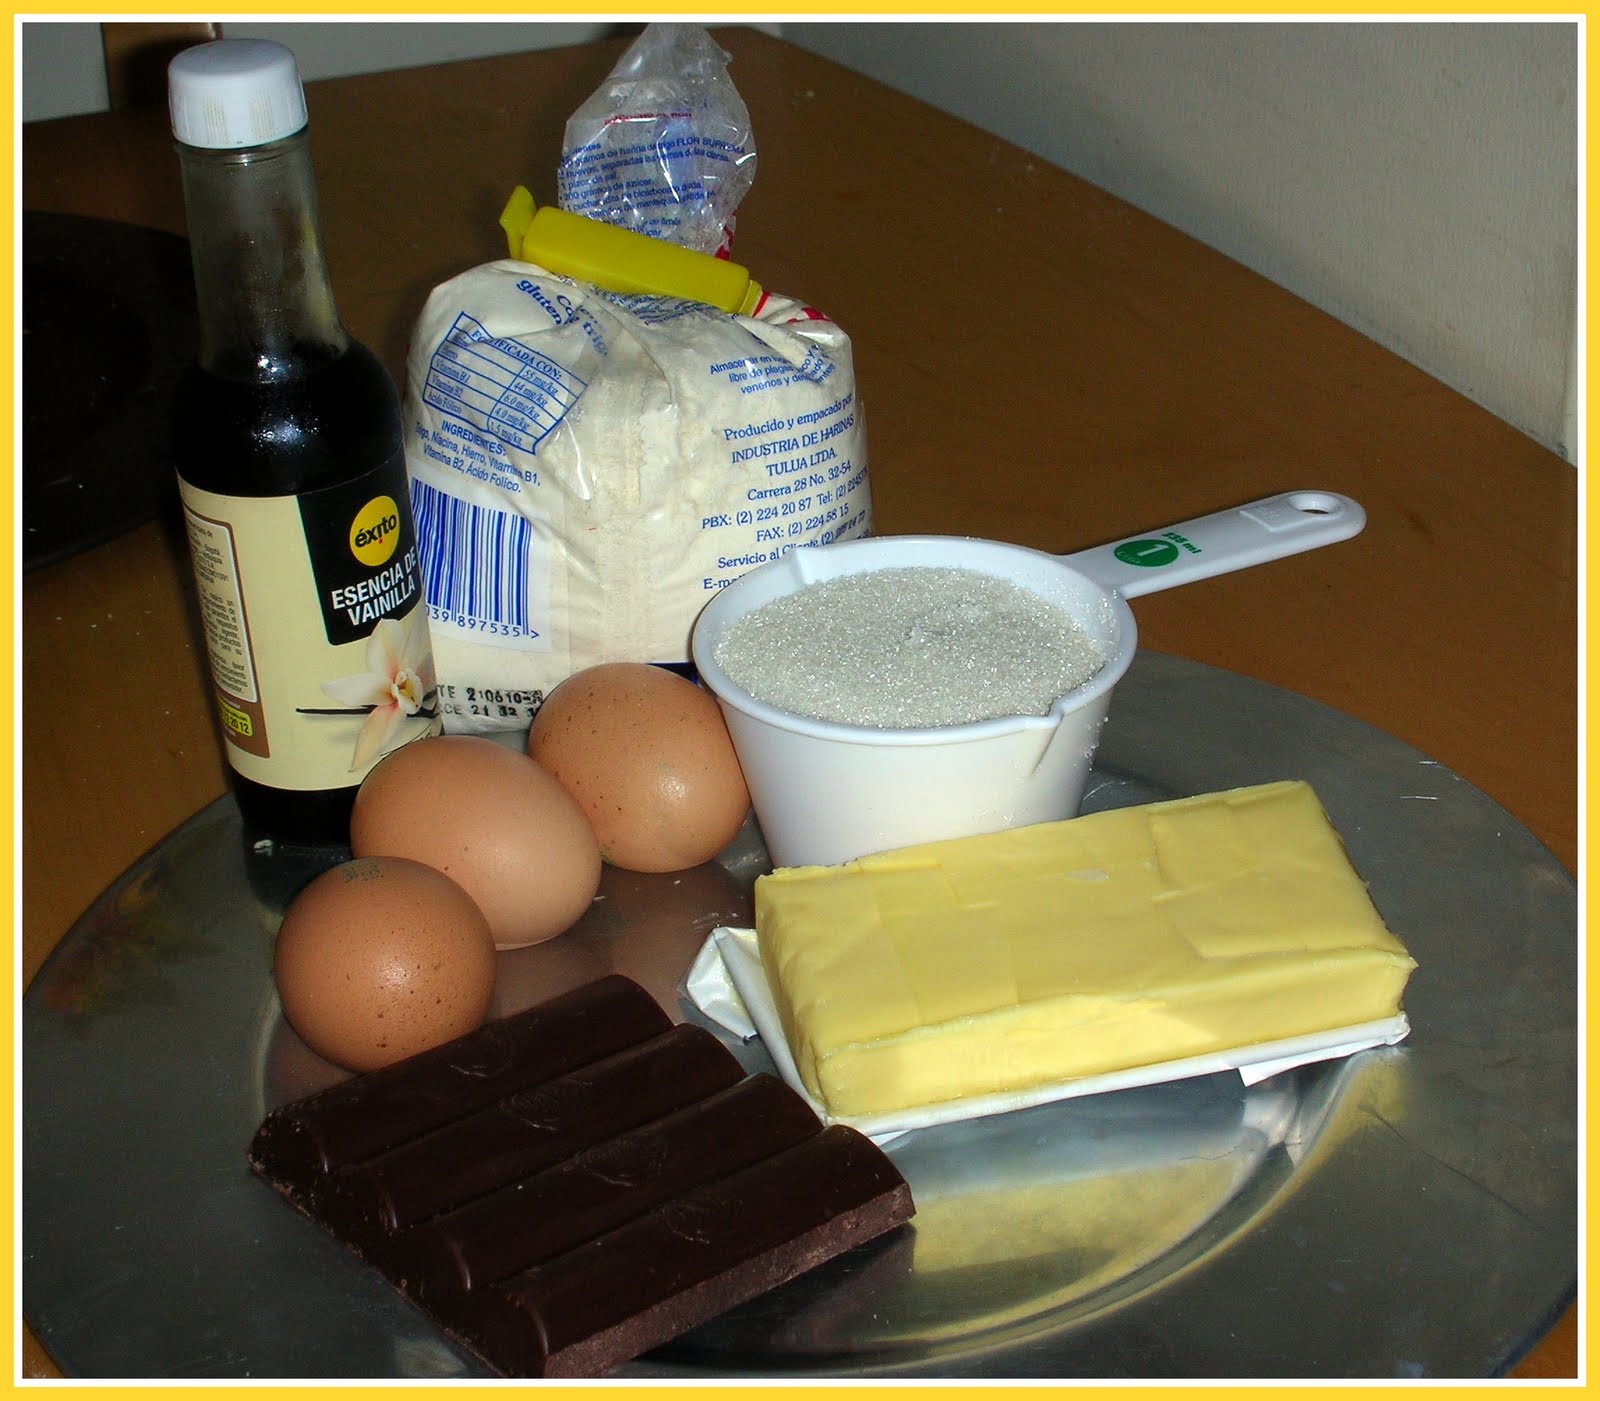
· 4 ounces semisweet chocolate
· 1/2 cup butter, cut into pieces
· 3 large eggs
· 1 1/4 cups all-purpose flour
· 1 cup granulated sugar
· 1 teaspoon vanilla extract
· 1/4 teaspoon baking soda
· 2 tablespoons cocoa
· 1 teaspoon instant coffee
· ¼ teaspoon salt
Directions:
Preheat oven to 350 F. grease a 13x9 pan. Melt the chocolate and butter over low heat. Stir until smooth. Remove from heat and stir in eggs. Add flour, sugar, vanilla and baking soda. Spread into prepared baking pan.


Bake for 18 to 22 minutes or until a wooden stick comes out with a few crumbs clinging to it. Cool completely in pan on wire rack.


I found that for easier cuts you should remove the entire brownie from the pan once cooled and then cut into bars. For even prettier brownies you cut off the borders (I put these on top of vanilla ice cream with some hot fudge and it was delicious!).


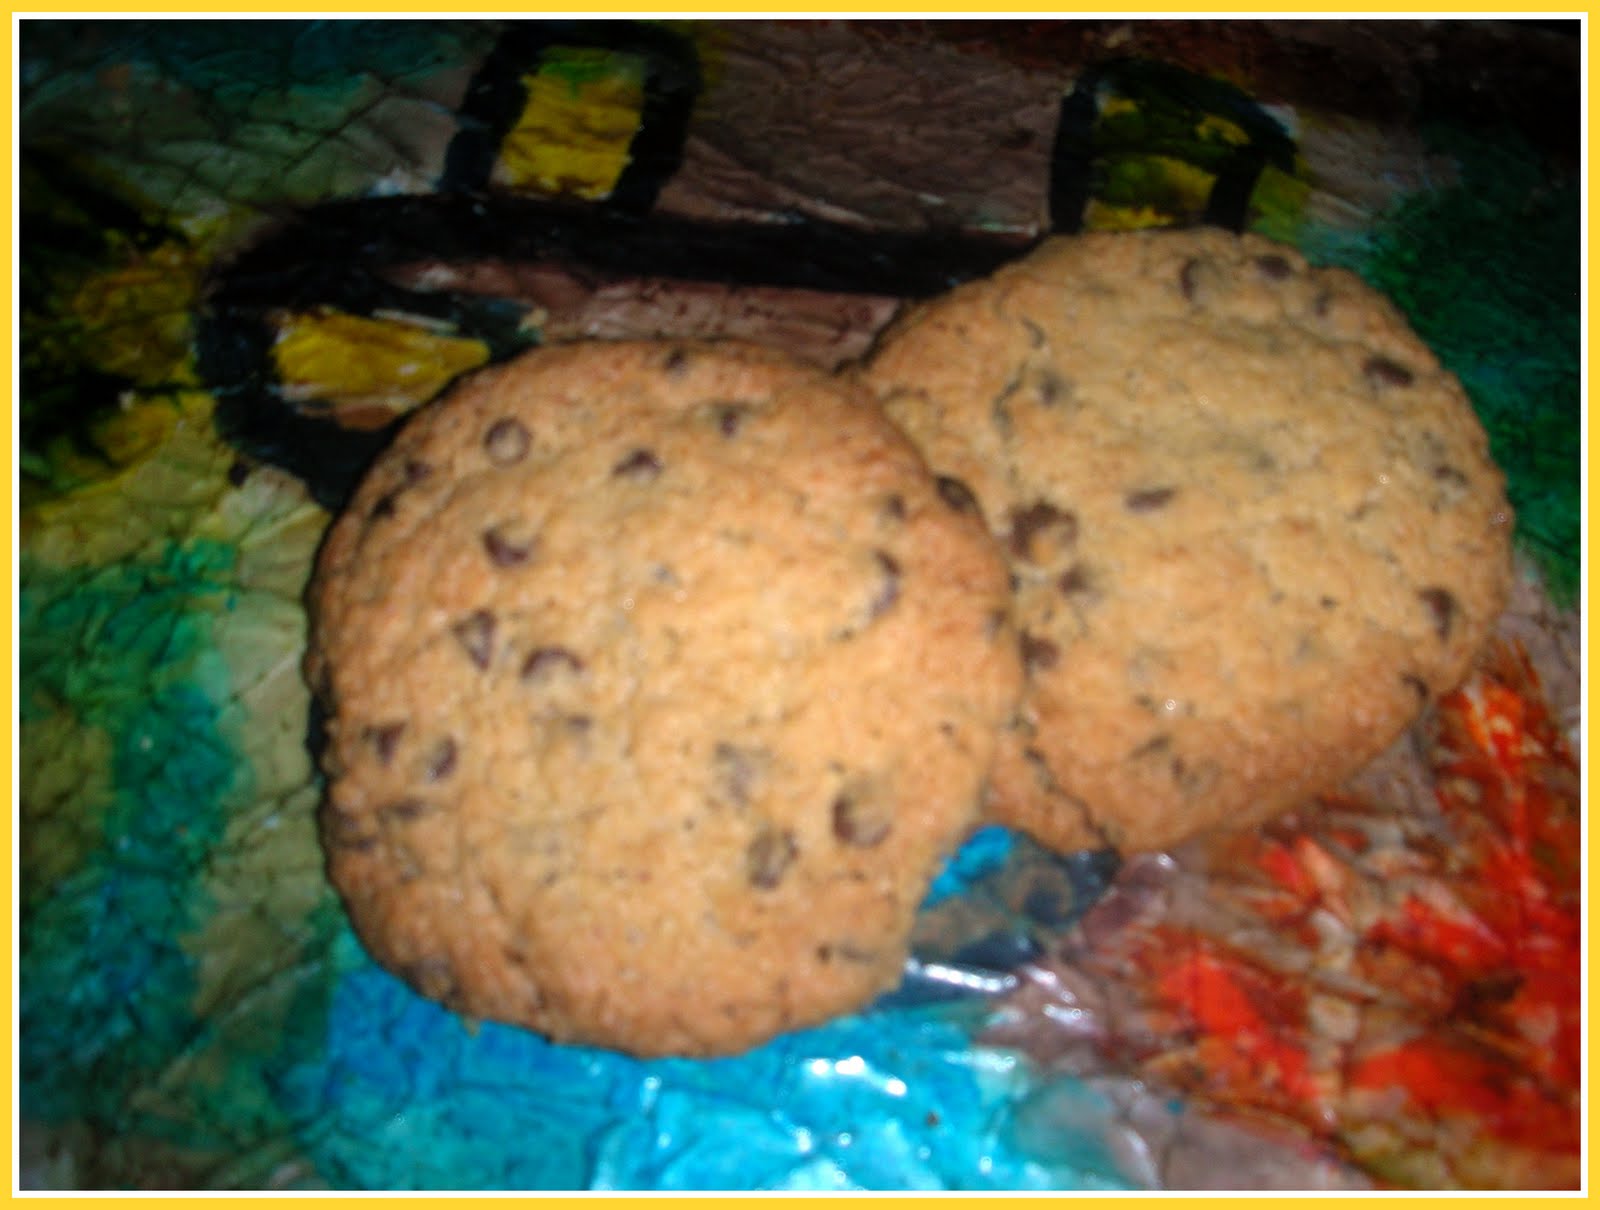
Once these brownies were cooled in drizzled them with some white chocolate and got some cute results!
I also packed these in cellophane bags with hearts printed on them but I completely forgot to take a picture…But they looked so pretty!


Everyone who tried these brownies thought they were great because in my opinion they are the best of both worlds. They have a bit of a crumb but they are also a bit fudgy in the center. And besides the texture the taste is really phenomenal! I have officially found my go-to brownie recipe.


Sunday, July 25, 2010

Big Chocolate Chip Cookies

I have always wanted to make chocolate chip cookies from scratch but i have never made them...not until now. I am a big fan of huge soft chewy cookies, so that’s what I wanted to make.

Chocolate chip cookies:
1 cup of flour
½ teaspoon baking powder
½ teaspoon baking soda
½ teaspoon salt
1 stick of butter, cold and cut up
¼ cup white sugar
¾ cup brown sugar
1 egg
1 teaspoon vanilla
1 cup chocolate chips
1 1/8 cups oatmeal – ground finely


Directions:

Grind the oatmeal very finely.
Sift flour, baking powder, baking soda and salt.


Cream butter and sugar in a mixing bowl.


Add egg and vanilla and mix.


Add flour and oatmeal gradually.


Stir in chocolate chips.
Chill dough for a few hours.


Scoop chilled dough in to cookie using an ice cream scoop. Place them about 3 inches apart.
Press down to form discs.

Bake at 375 F for 12 to 13 minutes.


I made two batches. The first I wasn’t able to chill for too long…about 10 minutes in the freezer. I made 5 pretty big cookies but they were a bit over-cooked so they were a bit hard. However there was one big problem ...they were way to sweet. I have a super sweet tooth but even for me they were just too sweet. Since I still had half of the dough in the fridge I didn’t want to make more overly sweet cookies so I searched on the internet and came across a site that said that adding a bit of lemon juice would fix my problem. And they were right! The second batch of cookies weren’t as sweet as the first. As far as texture they were ok…they were nice and chewy just how I like them but I didn’t really like the oatmeal in them. Maybe I didn’t grind them enough I really don’t know but it just wasn’t working for me. I really liked the size though and the fact that it had many chocolate chips. I guess these cookies were good but they just didn’t fulfill my expectations…So I will continue my search for an amazing chocolate chip cookie.


Wednesday, June 30, 2010

Decorating Sugar Cookies


The main reason I like sugar cookies is because of the beautiful decorations that can be done on them. While I was researching about this subject I came across many recipes for icing the cookie. The most popular is the royal icing made with either meringue powder or egg whites. This didn´t really sound too appealing to me and I was afraid it would taste bad. I still wanted the beautiful appearance royal icing has so when I found a recipe using powdered sugar, corn syrup and milk that claimed to be a great substitute for royal icing I was thrilled!Here's the recipe:
1 cup of powdered sugar
1 tablespoon of milk
2 drops of lemon juice
1 tablespoon of light corn syrup
1 teaspoon clear vanilla extract
food coloring (optional)

While I was reading one of my favorite blogs Glorious Treats(http://glorioustreats.blogspot.com/) I found a post on how to organize your decorating station. I really liked the idea and I created my own as you can see above. This worked very well for me. Unfortunately the words on the image look very small and you can hardly read it but basically the different parts are : a working area which is where you place the cookies you will be decorationg, a tray to place the already decorated cookies to dry, a rack where the cookies wait to be decorated , and a cup with a damp cloth at the bottom to place the royal icing bags while their not in use. This is a very efficient way to work and I highly recommend it.

The icing looks very pretty when it is still fresh..however I had problems later on...
I outlined in two colors pink and orange.

My hand was a lot steadier than i thought it would be an these little hearts actually turned out kinda cute.

After outlining I thinned by icing for flooding. My flood colors were green, pink and blue. I also decorated some of the cookies with dots. This can be doen by simply adding dots to the flooded cookies while they are still wet. You can't really see them that well in this picture and some of the cookies have crumbs on them (lol) but it's the only picture I have since I forgot to take some while i was flooding and making dots.
They looked very pretty when they were still wet but once they dried the colors faded out and were very pale. this was very dissapointing since i had worked so hard on them. I'm going to be making these again so i can try and fix the icing to make the colors brighter and glossier. I will let you know how ir goes. I packed up the cookies in packs of three and tied a nice yellow ribbon around them. These were all eaten my family who said they were very good! You can see the recipe for the cookies here: http://summerofbaking.blogspot.com/2010/06/sugar-cookies-attempt-1_28.html#comments


Monday, June 28, 2010

Sugar Cookies : Attempt # 1!


So after many days of research I finally decided to test my luck at sugar cookies. I actually made them a couple of days ago but i had not had the chance to post..so here goes.
After researching many recipes I founf one that seemed to be used by almost everuone. Many blogs such as Cookie Madness, Mel´s Sweet Treats, and others use this as their sugar cookie recipe. It is said to be similar to the cookies from Cookies by Design.

Here´s the recipe:
Sugar cookies-

3 cups of flour

1 teaspoon of baking powder

2 sticks of unsalted butter

1 cup of sugar

1 large egg

1/2 teaspoon kosher salt

1 teaspoon vanilla extract

zest of one lemon Directions: Sift together flour and baking powder.
In a mixing bowl beat the butter and sugar until light and fluffy.

Stir in egg, salt, extract and lemon zest.
Slowly add flour mixture and stir until incorparated.
Form the dough into two disc and wrap in plastic wrap. Refrigerate for at least 1 hour.

Preheat oven to 375 degrees F.
Roll the dough onto a lighlty floured surface to 5/8" thick.

Cut the cookies into shapes. Refrigirate for 15 minutes.

Remove extra dough and place on parchment lined tray ( I didnt have parchment so I used aluminum).

I made two batches. The first one was made with dough that had cooled for one hour. When I took them out of the oven they seemed a little raw and way too soft so I put them back in at 275 degrees F for 3 minutes. This was a complete mistake. As you can see in the image below the cookies where way to brown at the edges and they were extremly crispy.

Another problem was that the cookies did not hold their shape well. I 1 hour of chilling did not work for me becuase the dough was very hard to work with when rolling out and I belive this influenced on the fact that the cookies did not hold their shape.
These are the second batch cookies before going into the oven.
You can see that these cookies were much better. the dough was chilled for 2 1/2 hours. Also I baked them for 12 minutes and although they looked to soft at first once they cooled they were just fine. They held their shape and the color was great, the bottoms were only lightly browned. The texture was also good, it was crumbly and soft but it held up well. As far as taste it was really good, it had a very strong lemon taste to it but it worked very well with the vanilla.

Store them in an airtigh container to keep them nice and fresh.
Rating: 7.5

Conclusion:

Overall I very much enjoyed these cookies and the taste was wonderful. They were alot better fresh and after about two days the taste wasn't as good as before. Even so my family really liked them.
This is just the beginning so look foward a post on the decoration of these cookies!


Tuesday, June 22, 2010

first post!

Hi! I'm very excited to be writing my first post. Anyone who knows me knows i love love baking! Although most of the things I've maded in my life have come from a box. That's all about to change though. I've alredy made progress by making cookies,muffins and brownies from scracth! And they were actually good..but they could be better. Oh and one i made some doogy cupcakes for my dog's first birthday! Does that count??

Since I have such a passion for baking and a whole summer with nothing to do ahead of me I decided to start a baking blog! I will post everything I bake and share my expiriances with who ever wants to read them. right now i have an extreme obsession with SUGAR COOKIES! The beautifully decorated kind. I've been sarching for many recipies for cookies and royal icing and I've come across som good ones. so as my search cotinues i will post as soon as i finally decide to try one out. In a couple of days you will hopefully find a post on how to make sugar cookies! A long with the icing and som decoration. i have already bought some cookie cutters so expect to see cookies shaped as stars, butterfiles, hearts and some others!!